


We offer quite a few different brass accessories at Craft and Lore. While we love brass in its natural form, we sometimes like to transform that shiny, golden exterior into a worn and darkened patina. Instead of spending months or even years to develop this patina, we use a few products to force a chemical reaction that gives the brass that dark, worn-in look.
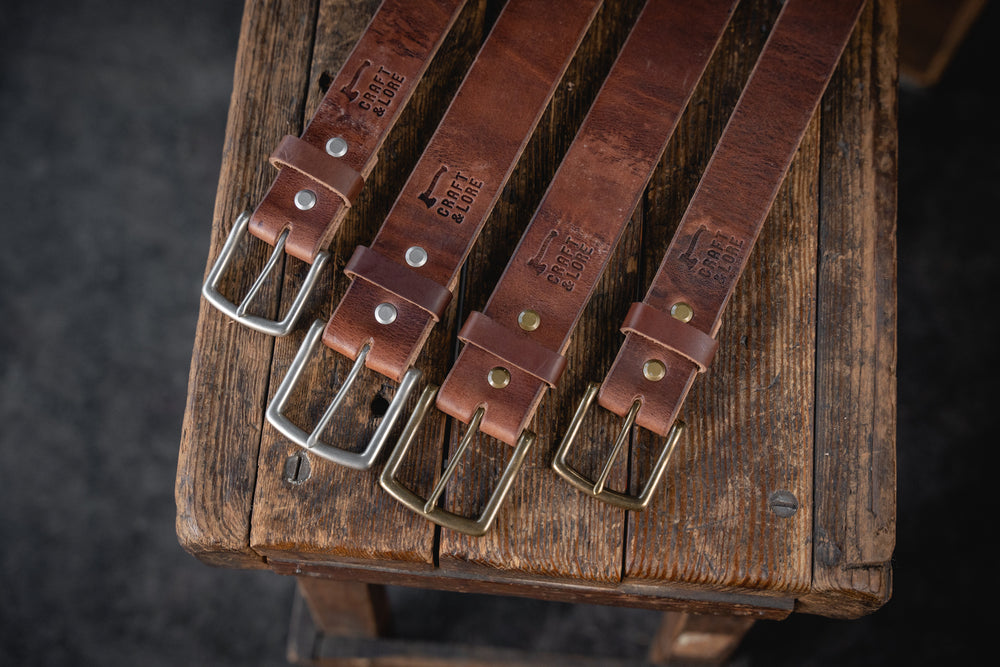
Have a look at some of our brass accessories.
WHAT YOU NEED

There are three products you'll need for this process.
Acetone
First, you'll need a cleaning solution of some sort to remove dust, dirt, and oils from the brass so that the chemical will be able to directly contact the brass. We use acetone for this task.
Brass Black
For creating the "aged" look, we use Brass Black by Birchwood Casey. Brass Black is a fast-acting liquid that, when it comes in contact with brass, bronze, or copper, creates a blackish layer on the outside of the metal. There are many processes you can use to achieve this chemical reaction, but we have found that Brass Black does the job quickly and efficiently, so we don't feel the need to bother with other, more complex methods.
Abrasive Cleaner
Finally, you'll need something to buff back the blackened brass. You can use abrasive cloths or materials, but we find that pumice soap does the job quite well. Orange soaps like Fast Orange and Gojo work phenomenally.
PREPARING THE BRASS

The first step of forcing a brass patina is to clean the outside of the metal. It is essential that you carefully clean every bit of the brass, paying special attention to cracks, crevices, logos, and other hard-to-reach spots. Oils and dirt leftover on the brass will create a protective layer that prevents the chemical from directly contacting the brass, and will therefore leave your result more spotty and inconsistent. We also suggest using gloves for this part of the process, not only to prevent the chemicals from contacting your skin, but also to prevent the oils from your hands being leftover on the brass.
APPLYING BRASS BLACK

The next step is to apply the Brass Black to the product. You can do this using a rag or dabber. For hard-to-reach spots on your product, a q-tip is a great solution. Be sure to apply the chemical liberally to the entire product, and then allow it to dry as the chemicals work to blacken the outside of the brass.

Once the chemical has dried, there should be a dark outer layer over the entirety of the product.
 |
 |
Buffing back patina

Once the product has fully dried, you can now buff the patina back to your preferred patina amount. Apply a pumice soap or other abrasive cleaner to a rag and slowly begin to buff back the black outer layer on the product. Focus on the main surfaces and don't worry too much about the hard to reach areas. The varying levels of patina on different parts of the product gives it the extra character and contrast that makes the product pop.
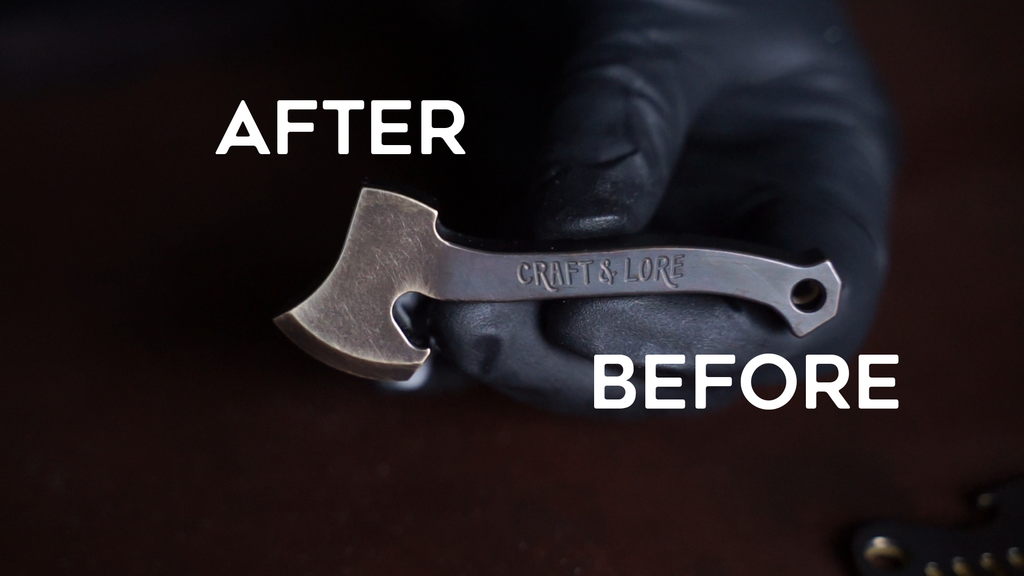
The buffed-back portion (left) is about how we like our patina.
Once the products have been fully buffed back, they should resemble a very aged brass and be a few shades darker than before, especially in the crevices of the product.
 |
 |
THIS PROCESS ALSO LOOKS GREAT ON WATCHES
 |
 |

Check out some of our watch accessories.
We hope this tutorial helped you achieve that sought-after patina look on your brass product! We love how this patina looks, but also respect the long-grind of allowing the brass to naturally patina over time. When it comes down to it, the decision is up to you. Do what you think looks best for your product and tag us on Instagram to show us your success!
Also, watch our Youtube video where we go through this same process for some of our brass accessories: